TABLE OF CONTENTS |
How to Replace the LCD Screen on the Anycubic Photon Mono M7 Max
| This step-by-step guide explains how to safely replace the printing LCD on the Anycubic Photon Mono M7 Max. It’s designed for both end-users and resellers. Subject to change as there is no official guide for this model yet, and improper handling may cause damage. |
Tools & Materials You Will Need
Replacement LCD panel
Replacement LCD protective glass
Replacement LCD cover film (screen protector)
Thin double-sided tape or LCD adhesive strips
Suction cup, plastic pry tool, or old credit card
Isopropyl alcohol (90% or higher)
Microfiber or lint-free cloth
Gloves (optional, but recommended)
Heat gun or hairdryer (optional, for loosening adhesive)
Step 1: Power Off and Prepare
Turn off the printer and unplug it completely. Remove the resin vat and build plate
Step 2: Replace the Old LCD
 Peel off the outer LCD tape securing the screen, warming a little with a heatgun or hair drier will help with this.
Under the first layer, carefully remove the additional layer of tape which is there to protect the LCD cables.

The LCD replacement kit comes with a suction cup which can be used to help lift out the LCD from it's recessed slot. Use a hairdryer on low heat to soften glue if stuck.
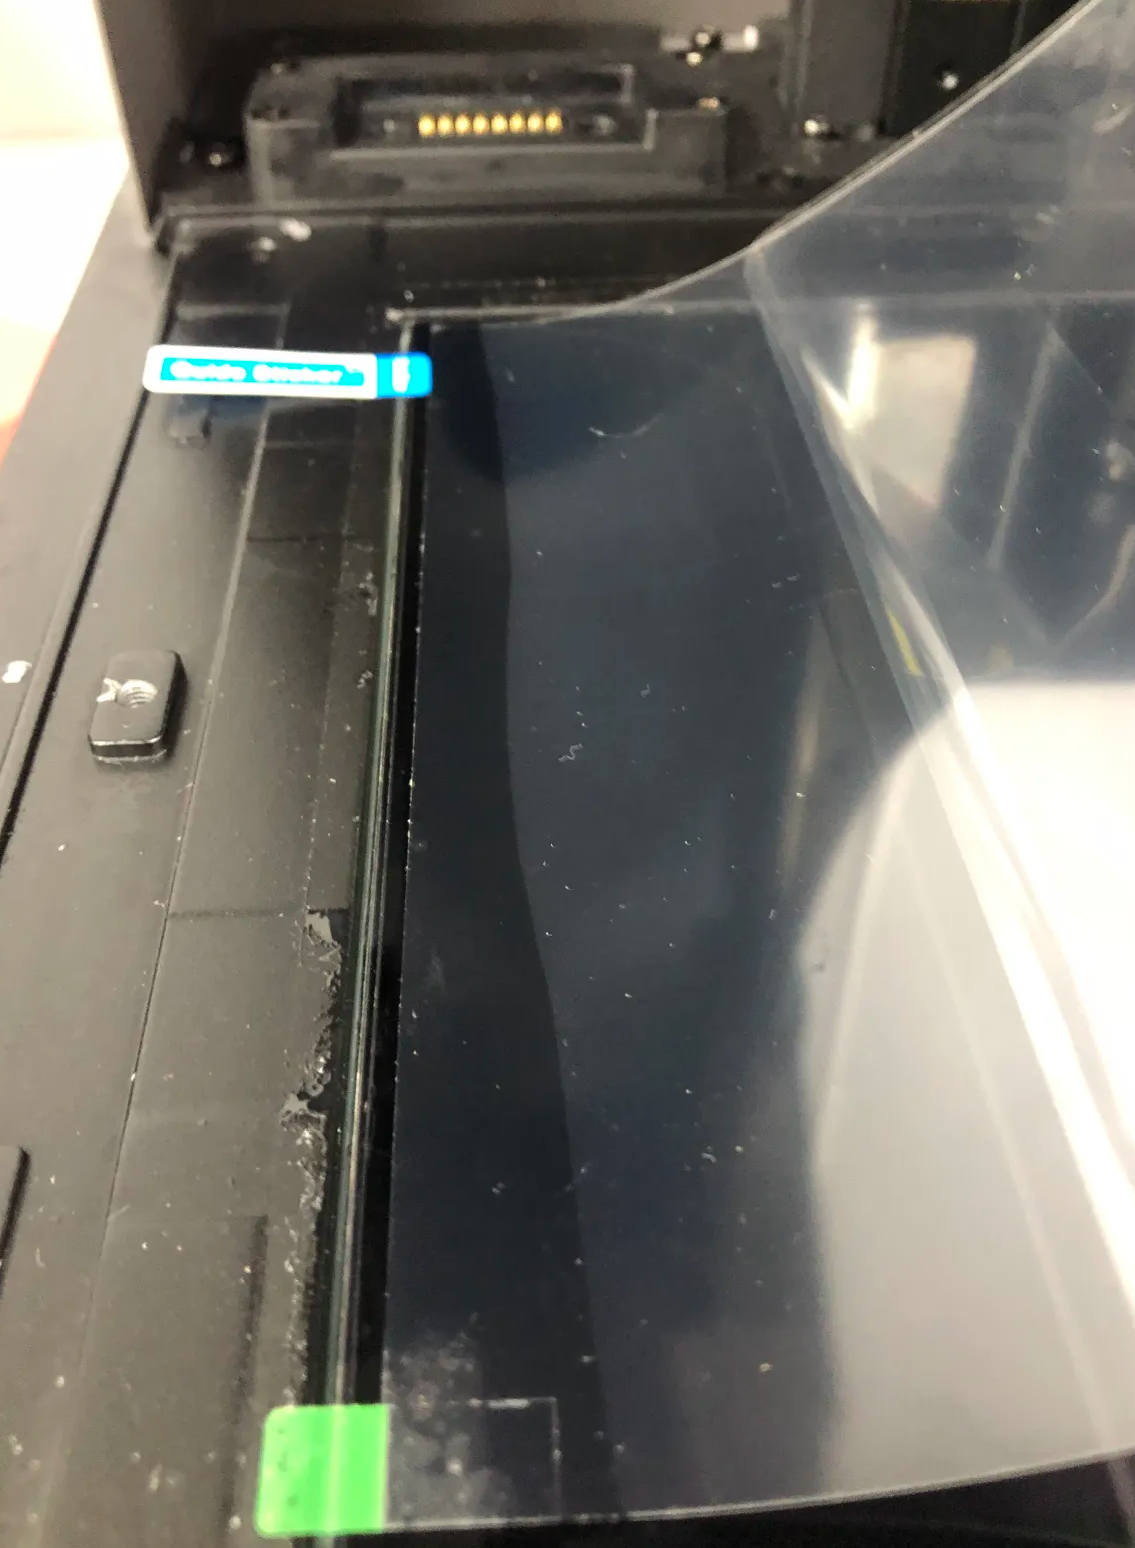
Take a picture of the way the cable is connected into the LCD and motherboard as only one way works. The official Anycubic LCD replacement kit as of yet comes with a spare data cable for the LCD which gives you the option to replace the cable if you need to. Do keep the original one as a spare part if it is still working.
Remove all broken glass carefully and clean any residue before installing the new LCD.
⚠ Caution: The LCD protective glass is fragile and may crack when removed. Wear gloves and eye protection.Step 3: Install the New LCD and Glass
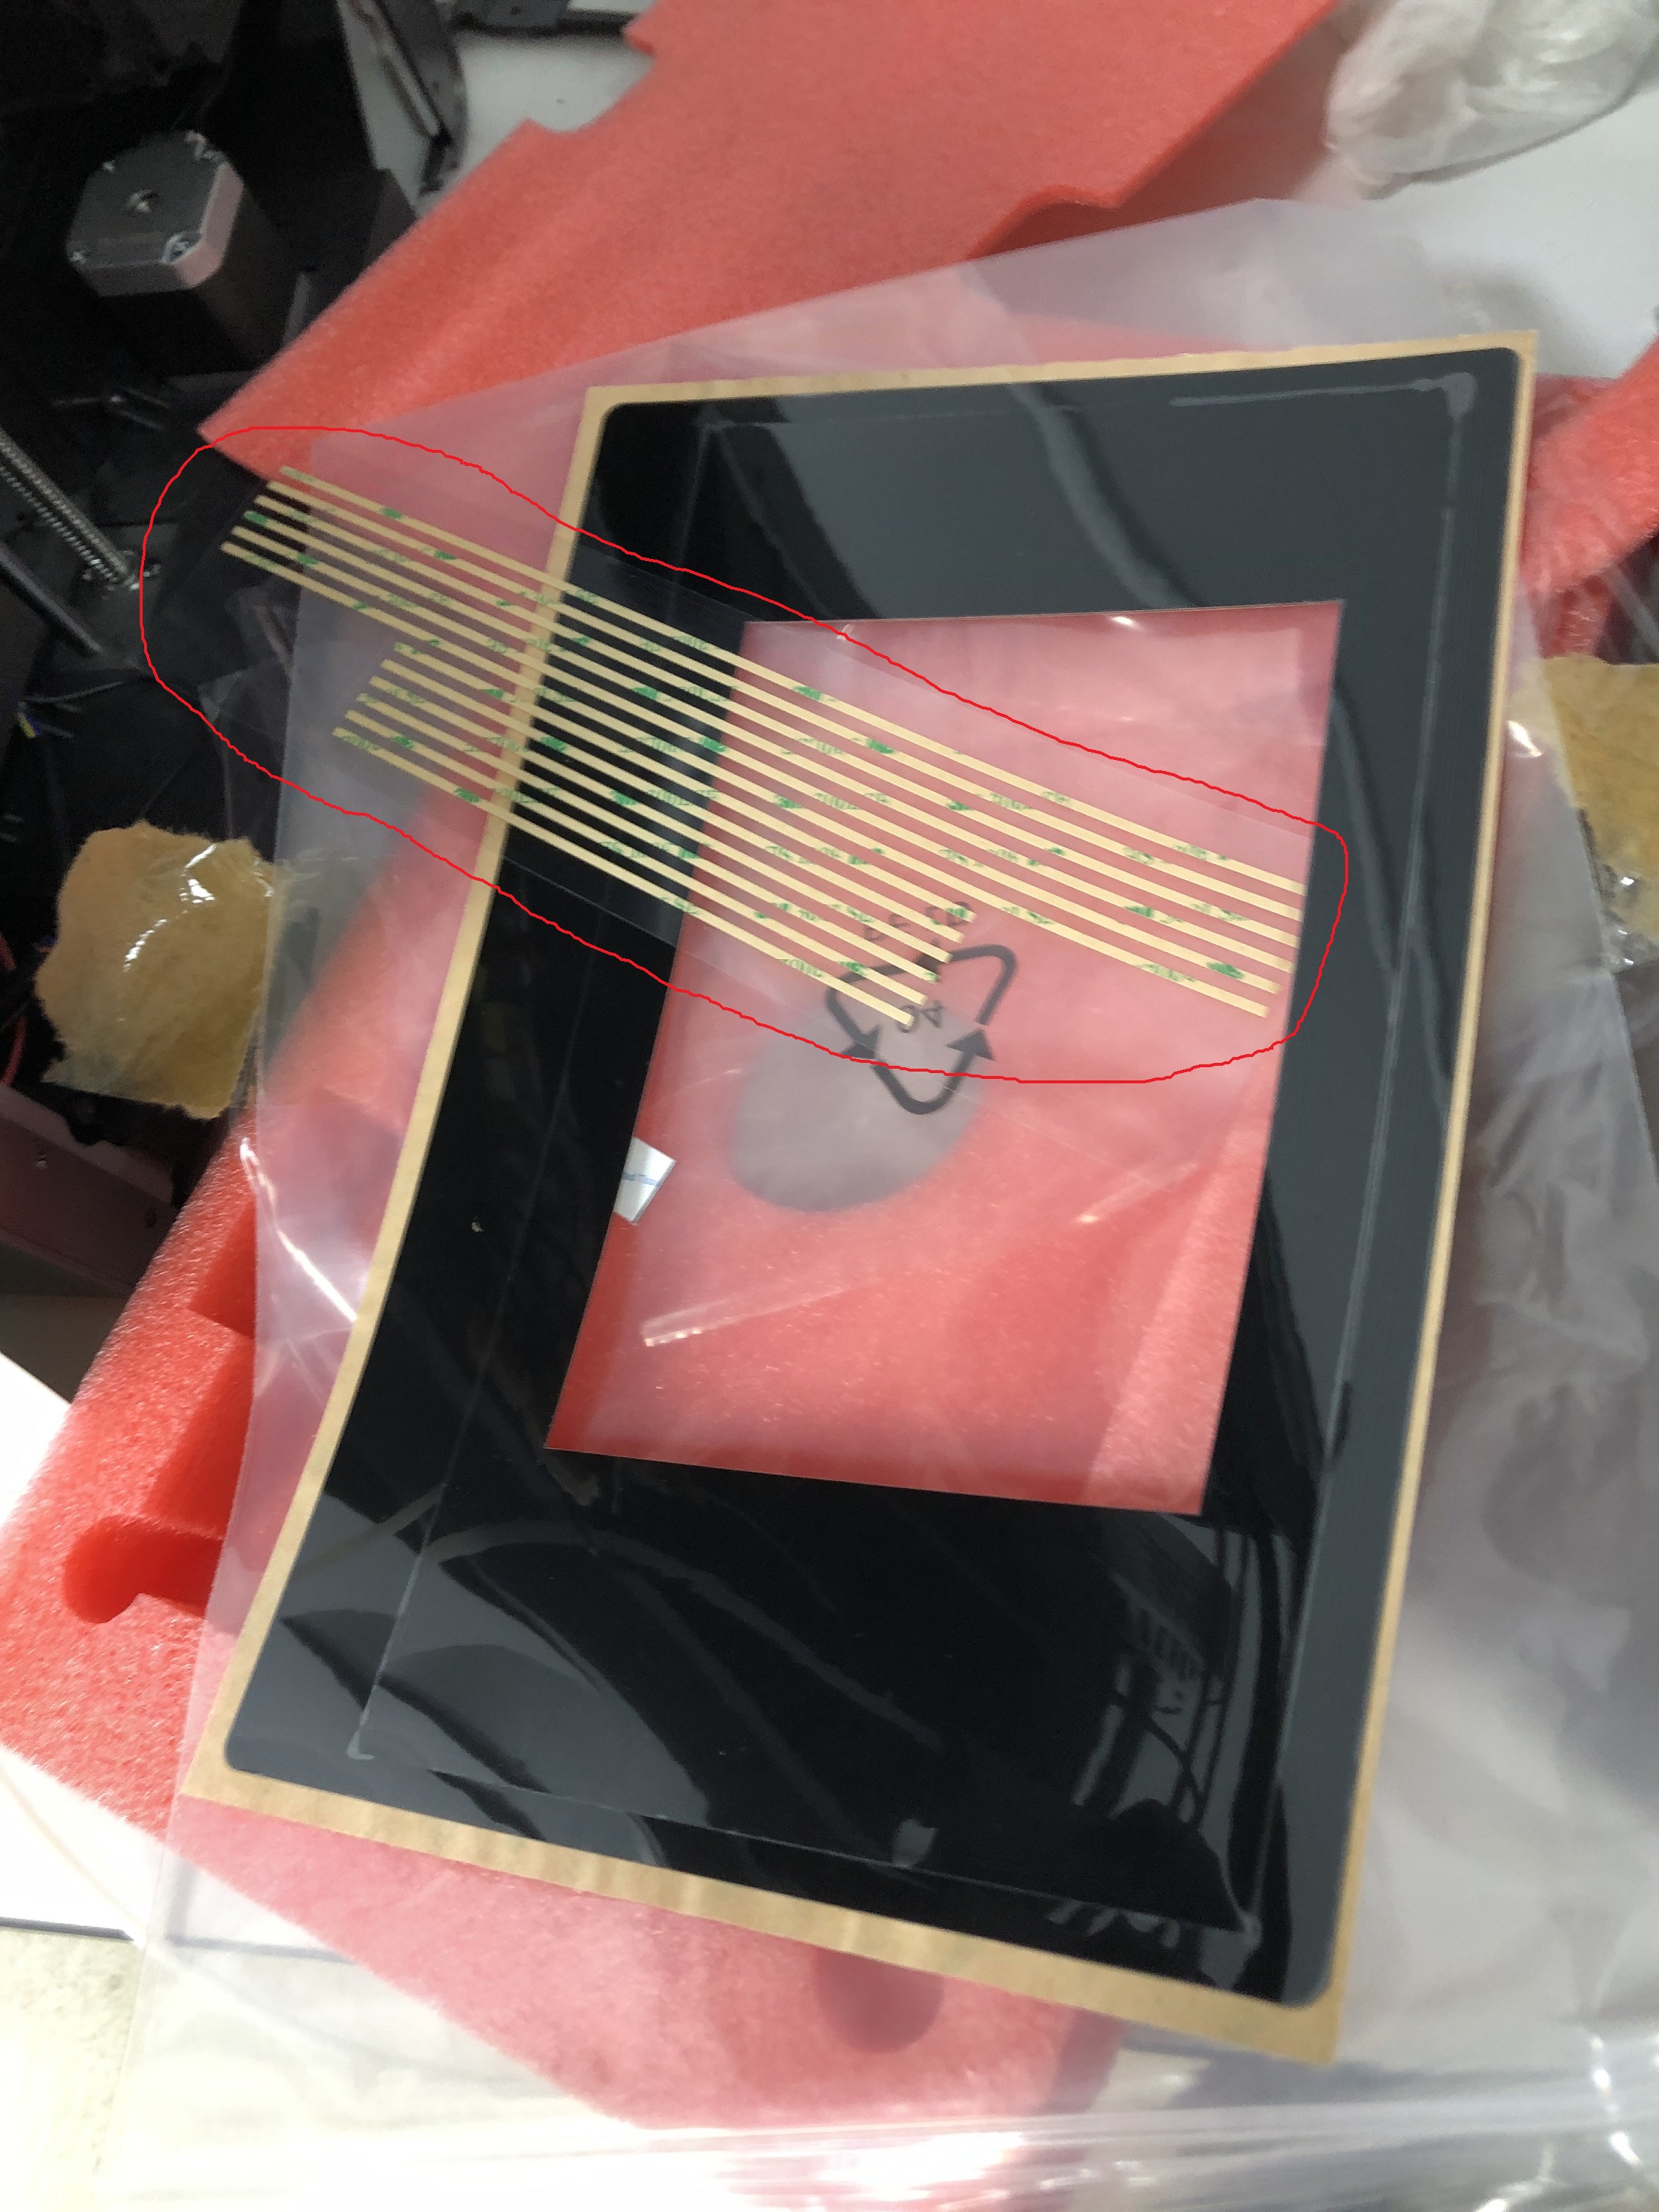
Do not press down hard on the LCD during installation — it is fragile. Use gloves to prevent dust and fingerprints during handlingPlace the new LCD protective glass into the frame first. Ensure it lies completely flat and dust-free. Apply thin double-sided tape or adhesive strips to the frame.
These strips go between the protective glass and the new LCD panel.
Don't forget to remove the protection stickers protecting the glass and sticker from dust.
Step 5: Final Taping and Protection
Apply fresh LCD sealing tape around the edges of the new screen.
This helps secure the LCD and protect against resin seepage.
Add a new LCD cover film (screen protector) on top.
Use a card or soft cloth to smooth it and remove air bubbles.

Step 6: Reassemble and Test
Reinstall the metal bracket, build plate, and resin vat.
Plug in and power on the printer.
Run a screen test (e.g., exposure test or grid pattern) to confirm:
The screen powers on
Pixels are functioning properly with no flickering.
No dead zones backlight issues

 Notes and Tips
Do not press down hard on the LCD during installation — it is fragile.Use gloves to prevent dust and fingerprints during handling.
You can test the LCD before final taping by powering on with only the ribbon cable connected.
Keep all removed parts (e.g., brackets and screws) safely organized during the procedure.
If you need help identifying which part to order, or if your replacement LCD does not seem to power on, please [contact support] or raise a ticket with photos.